How To Change Photo Upload Auality in WhatsApp – WhatsApp is the first app that comes to mind when you think of instant messaging services. Whether you use an Android phone or an iPhone, WhatsApp will definitely be one of the favorite apps.
Of course, WhatsApp-focused little tricks are also one of the reasons that popularize this use.
However, it must be said that it is not a perfect application, especially when sharing photos. To send photos in full resolution, you need to try some simple solutions. That is why we have prepared this article.
WhatsApp offers the ability to change the quality of uploading photos from the application. We explain in detail how you can change this setting on your phone.
What does Whatsapp photo upload quality mean?
When you send a photo to someone on WhatsApp, some compression takes place. You can adjust the compression level by selecting the desired photo upload quality.
If you have good internet speed, you can always choose to send high quality images. However, if you are using mobile data, it would make sense to lower the quality of the photos to save bandwidth and send images faster.
The option to set the default photo quality in WhatsApp is available in both Android and iOS versions of the app.
Change Whatsapp photo sending quality on Android
Here’s how you can change your photo upload quality on WhatsApp if you have an Android smartphone:
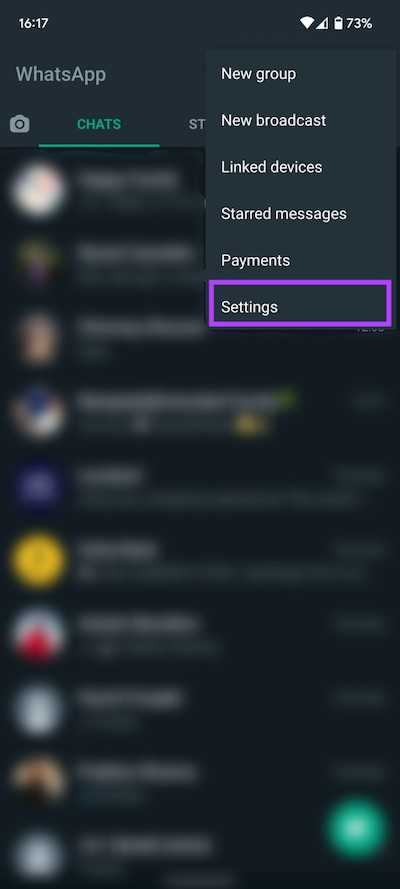
Step 1: Open WhatsApp on your Android smartphone. Tap the three-dot menu in the top right corner of the app.

Step 2: Select Settings.
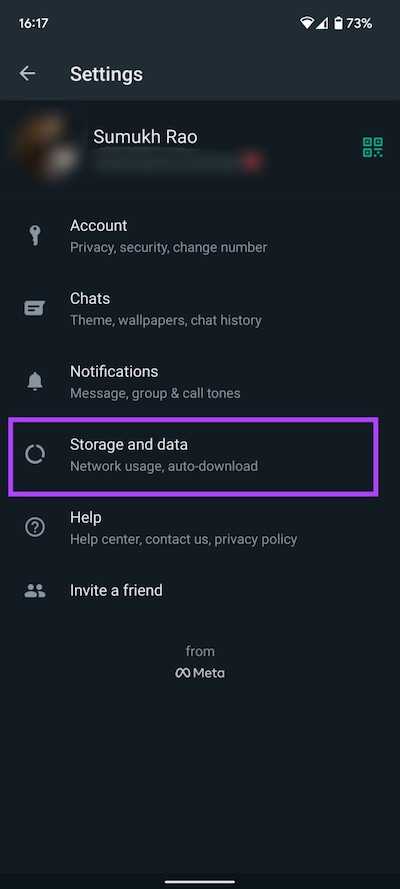
Step 3: Tap on Storage & data.
Step 4: The last section on the screen is ‘Photo upload quality’. Photo upload quality is set to Automatic (recommended) by default.

Step 5: Tap on Photo upload quality and choose the option that suits you. Choose Highest quality if you want to always send high quality photos. If you have limited or metered connection, select Data saver.
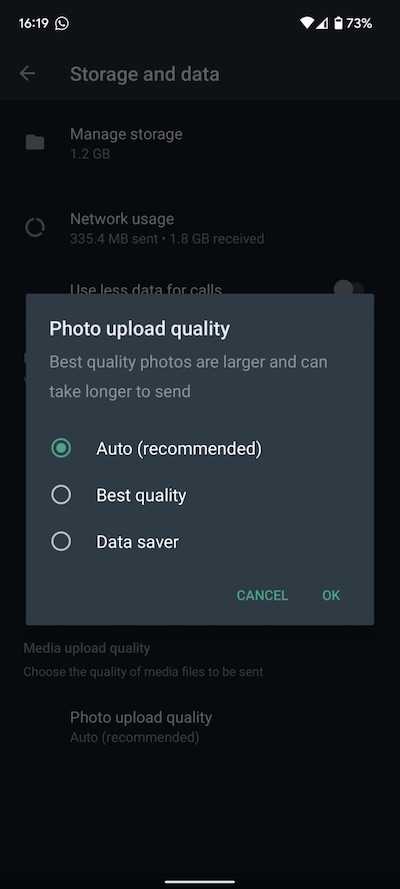
Step 6: Tap OK.
If you want your phone to automatically decide the quality of the photos to be sent based on your internet connection, you can leave the setting to Automatic. Note that this still does not allow WhatsApp to share without degrading the photo quality.
How to change photo upload quality on iPhone?
If you’re using WhatsApp on an iPhone, here’s how you can change the photo upload quality setting.
Step 1: Open WhatsApp on your iPhone. Go to the Settings tab at the bottom right of the screen.
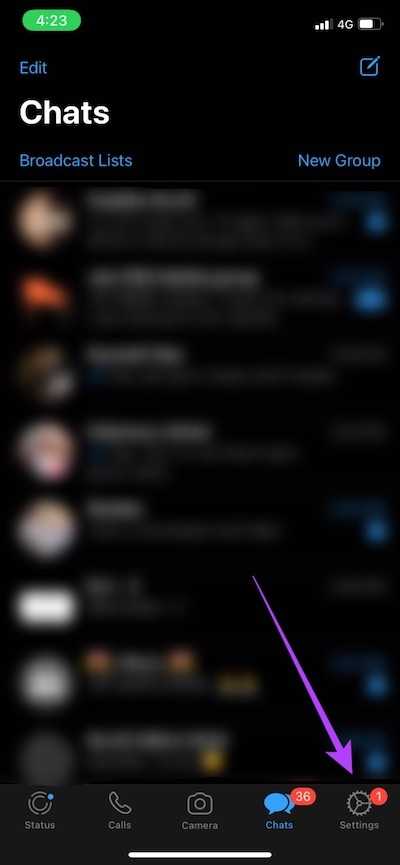
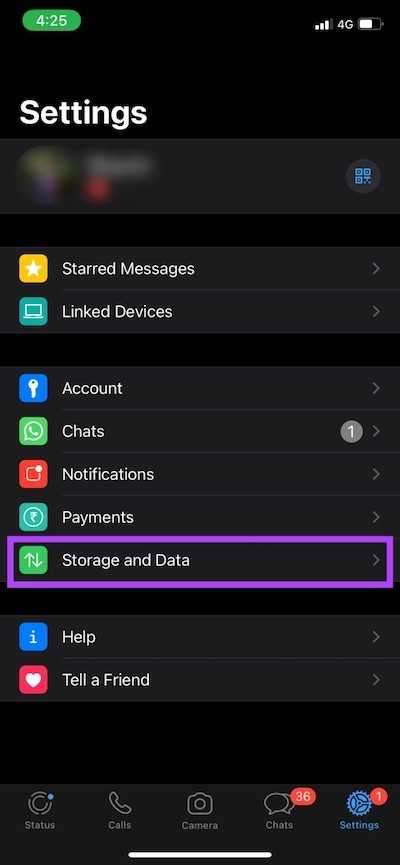
Step 2: Tap on Storage & Data.
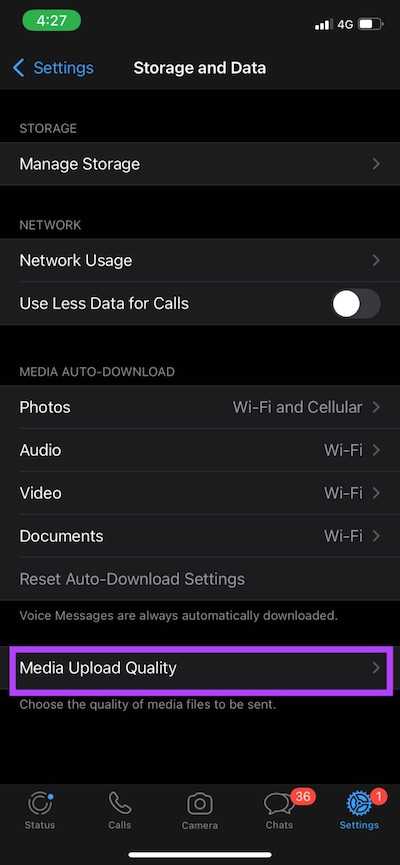
Step 3: Select the Photo Upload Quality option at the bottom of the page.
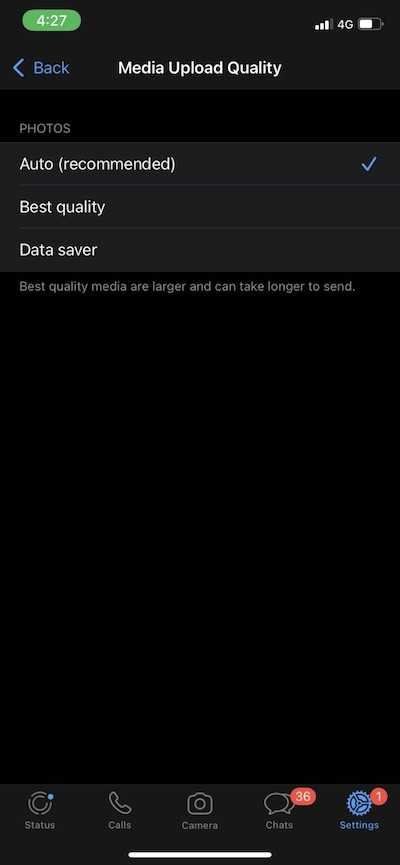
Step 4: Automatic (recommended) is the defined selection. Change this setting as you prefer. The best quality has the least compression ratio, but consumes more bandwidth. Data saving is best when there is data restriction or in an area with poor connectivity.
Now that you have changed the image upload quality in WhatsApp, your photos will be transmitted with minimal compression. However, if you still want to send photos without any loss of quality, you can send them as files. We tell you how to do it:
Send photos as files on iPhone
Saving a photo in the Files app and then sending it via WhatsApp provides the most flawless image quality.
Step 1: Open the picture you want to send in the Photos app on your iPhone.
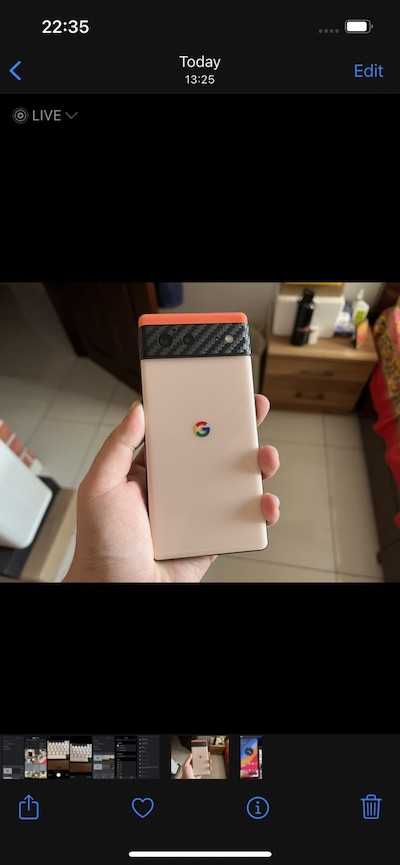
Step 2: Press the Share icon in the lower left corner of the screen.

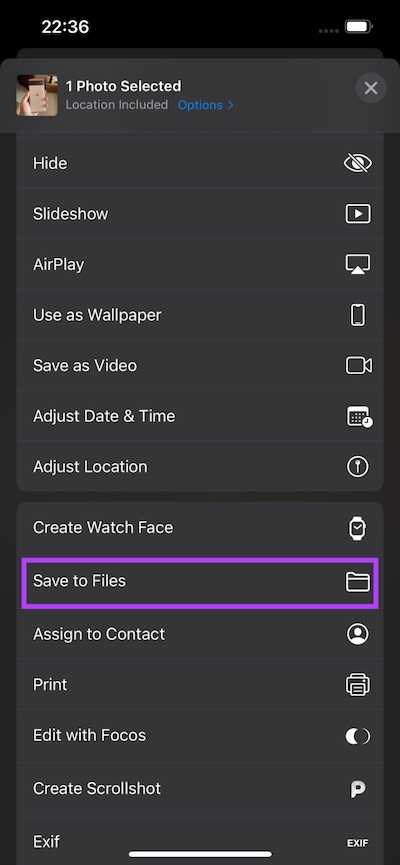
Step 3: Find the Save to Files option.
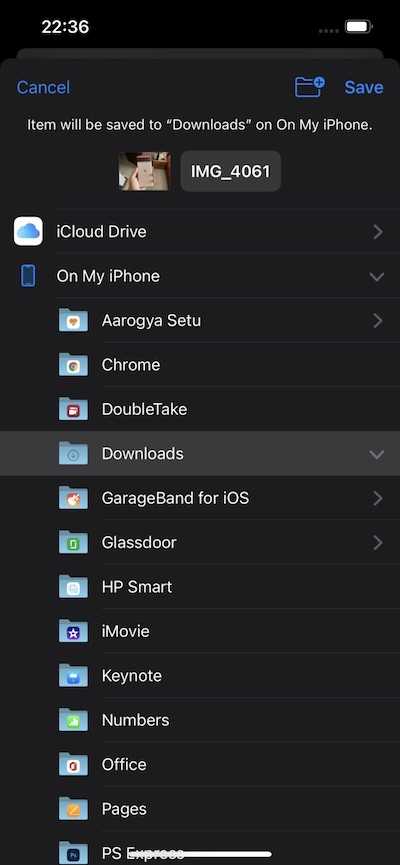
Step 4: Identify the folder where you want the image to be saved.
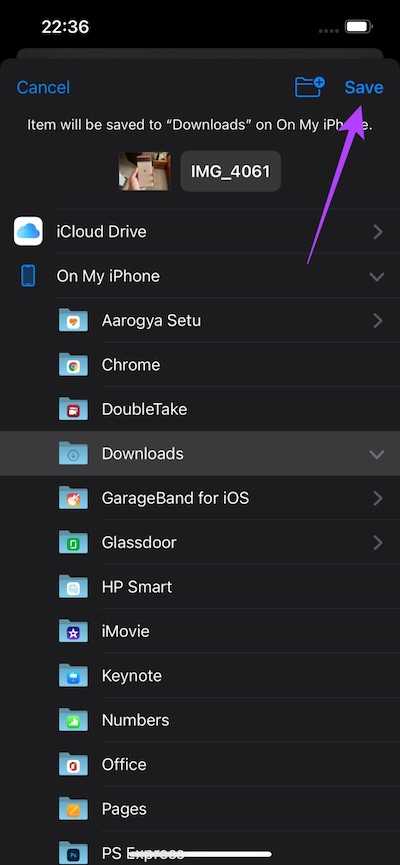
Step 5: Tap the Save button in the upper right corner.
Step 6: Open WhatsApp on your iPhone and open the chat where you want to send the picture.
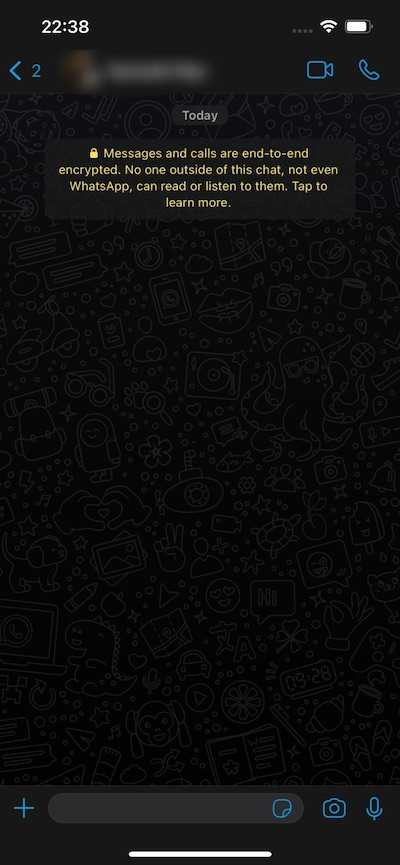
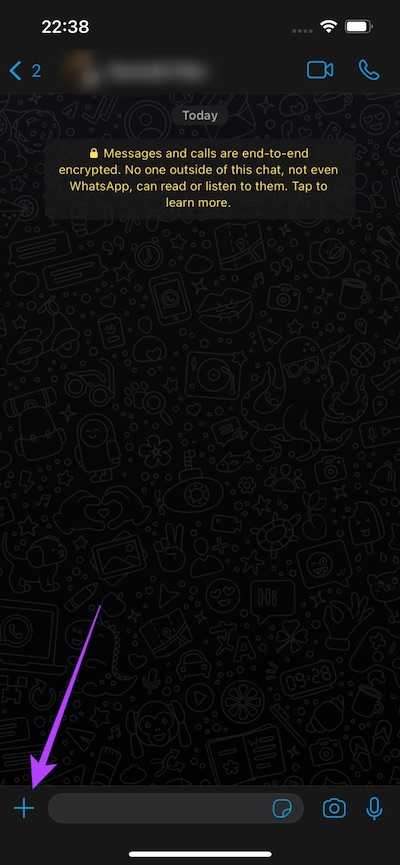
Step 7: Tap the “+” button next to the chat box.
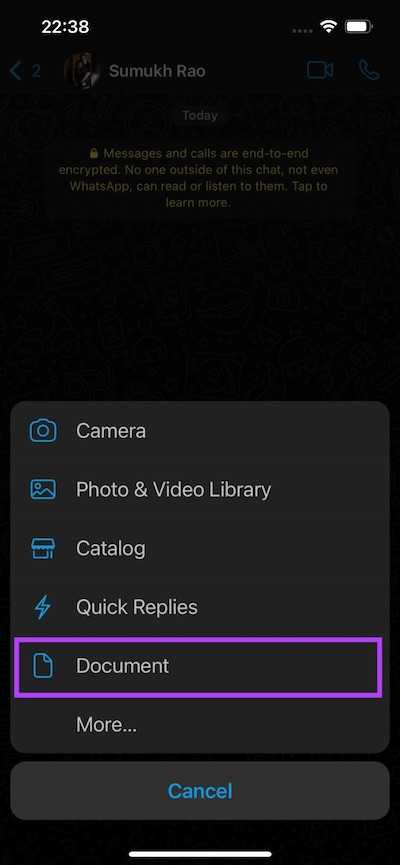
Step 8: Select Document.
Step 9: You will see that you have entered the Files application. Locate the folder where you saved the photo in the previous steps.
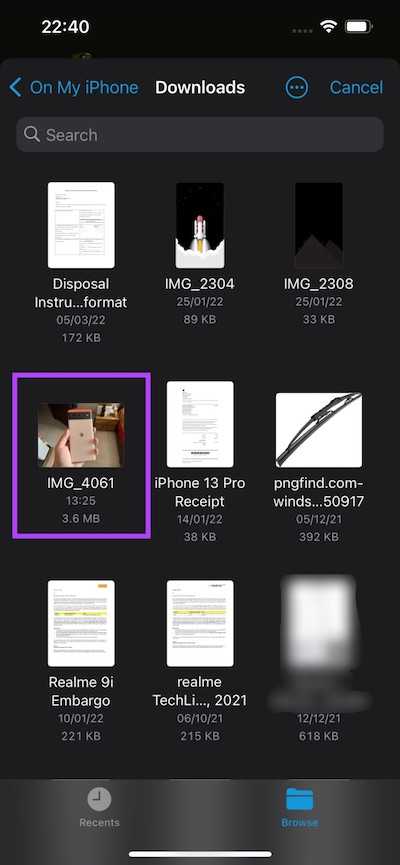
Step 10: Select the photo you want to send. Tap Send in the upper right corner.
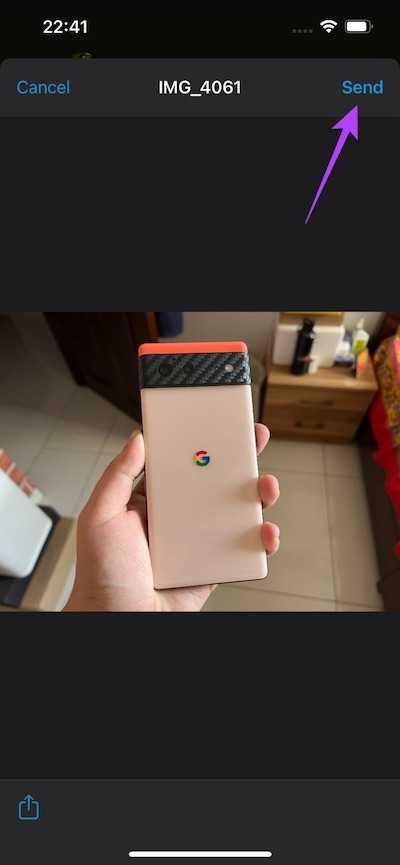
Your photo will now be sent in the best possible resolution. This is the best method if you want to send high resolution images like wallpapers or images with small text like scanned documents.
Read Also: