It is not necessary to invest in a webcam if we can use our iPhone as such. Best of all, Apple devices boast tremendous video quality. So even, we are going to have a webcam of an impressive quality.
- 10 Best GIF Maker Apps for iPhone and Android
- iPhone 12 Mini connects to the internet very slowly problem
Previous requirements
Most webcam apps for iOS work in sync with macOS and Windows. This means that we will have to download the application on our iPhone and also on the Mac or Windows computer.
Additionally, this application works both by USB and by Wi-Fi, so we can choose the one that best suits us. Of all the available apps, we choose the one that seems to us the best or at least the one that has given us the best experience.
We are talking about the EpocCam app that with the free version limited the video quality to 640 × 480 at 30 fps, it is not a bad quality to be able to talk with our friends or family. However, if we want a better quality like Full HD 1080p, we will have to purchase the EpocCam app for $ 8.
In case we want to use our iPhone with cables on our computer, it will be essential to have iTunes installed on it.
How to convert and use our iPhone into a webcam
Obviously, the first thing we have to do is download the EpocCam application on our iPhone or iPad. We will also have to do it on our computer or Mac and for this we go to the Elgato website .
After this we are going to download the driver to our computer. The only requirements are that you must have macOS 10.12 and Windows 7 or later. Even on Windows 11 it works quite well, as the software was updated for the new version of Microsoft’s operating system.
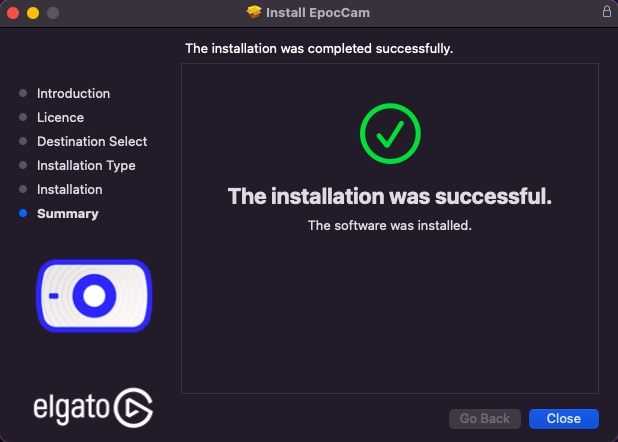
Once the program is downloaded, we will have to follow the process of installing it on our computer. When done, you may ask us to restart the computer in question.
Next, we are going to start the EpocCam application on our iOS device. As we mentioned before, the app is designed to work using Wi-Fi or USB. So here we will have to choose the option that suits us. Likewise, if we are going to use Wi-Fi, both the mobile device and the computer must be connected to the same Wi-Fi or wireless network.
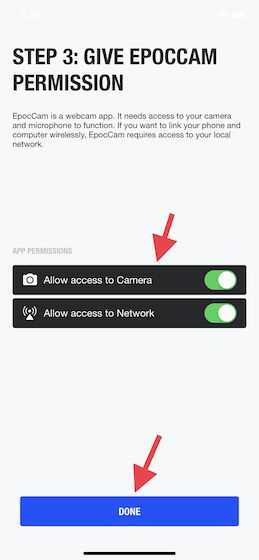
Now we are going to have to allow the application to access the camera and microphone. Additionally, we will have to allow the app to use the local network.
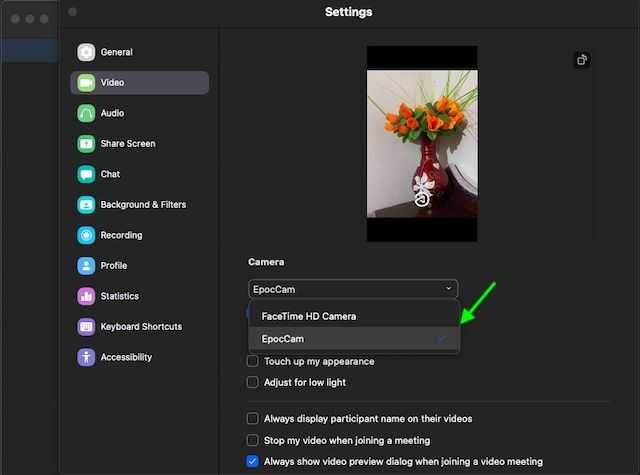
We are going to open the application where we want to use EpocCam. In this guide we are going to use Zoom as an example. So we open Zoom and then click on the Settings icon. After this we will have to select “Video” in the left sidebar. We go to the drop-down menu next to camera and choose “EpocCam”.
In most applications that we want to use with the camera, we will have to go to its configuration section and choose “EpocCam” as the default camera.