How to take a screenshot on iPhone 13
It is very easy to take a screenshot on iPhone 13 , we have several methods to achieve it and in this article we are going to see each of these. This guide is valid for iPhone 13 Mini, iPhone 13 Pro and iPhone 13 Pro Max.
Tomar a screenshot in iPhone 13
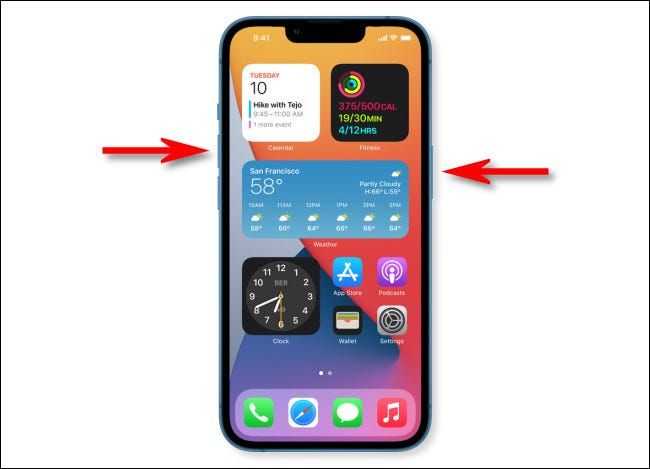
The easiest way to take a screenshot on an iPhone 13 is to simply use the two side buttons. To do so, we are going to have to briefly press the volume up button (left side) and the side button (right side) at the same time. It is not necessary to hold tight, we will simply press them at the same time and release.
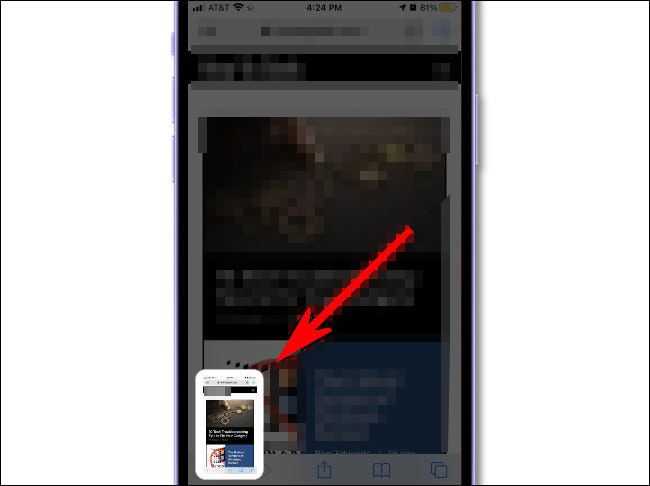
If we press both buttons at the same time, we will hear a shutter sound effect (unless the device is muted). We will see that a thumbnail of the screenshot that we just took appears in the lower left corner.
The capture will remain on the screen for a moment. If we click on it we can proceed to edit it, on the other hand, if we do nothing it will disappear and it will be saved in the iOS photo gallery.
How to edit a screenshot on iPhone after taking it
When we take the capture, if we touch it when it stays a few seconds in the lower corner of the screen, we will go to a photo editing mode where we will be able to make a few modifications.
Here we can: crop, rotate or annotate anything in the image. In addition, we can delete the capture from this section in case we do not like it by clicking on the trash can icon found in the upper right corner.
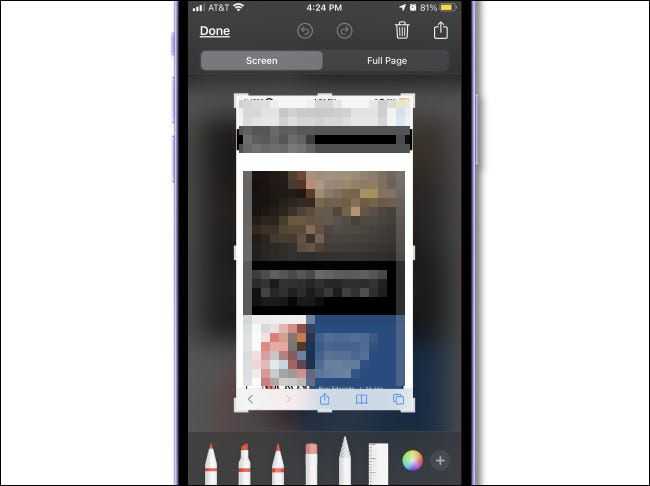
When we finish editing the capture, all we have to do is press “Done” in the upper left corner of the screen.
Read Also: How To Send a voice message on Snapchat on iPhone and Android
Take screenshot on iPhone 13 without buttons
If we cannot press both buttons at the same time or perhaps one of these is broken, then there is another method to make a buttonless capture.
The first method is by pressing on the back of the device, thanks to a new function called “Back Tap”, but we will have to configure it. For this we are going to open “Settings” and go to Accessibility> Touch> Touch Back or Back Tap. We assign “Screenshot” to a double or triple tap option. In this way we can touch the back of the iPhone to capture.
Additionally, the classic AssistiveTouch function also allows you to take a screenshot without having to combine two buttons. In order to configure it, we are going to open the “Settings” app and go to Accessibility> Touch> AssistiveTouch. Once we are here, we simply assign “Screenshot” to a custom action.